Contents
Lana Single Sign On
"Lana Single Sign On" v1.0.0 Documentation by "Lana Codes"
Introductory
"Lana Single Sign On" is an OAuth 2.0 client, which was primarily created for the "Lana Passport" OAuth 2.0 server plugin.
The "Lana Single Sign On" plugin is WordPress 6.0 compatible.
It has been tested on the following browsers:
- Google Chrome
- Firefox
- Opera
- Edge
- Safari
Support
If you have any more questions, feel free to contact us at: https://lana.codes/contact-us/
Created: 07/28/2022
By: Lana Codes
E-mail: [email protected]
Lana Passport
"Lana Passport" is a premium OAuth 2.0 server WordPress plugin.
The "Lana Single Sign On" plugin with "Lana Passport" plugin provide that the user can log in to the WordPress client website via "Single Sign On" button
Product: https://lana.codes/product/lana-passport/
Online documentation: https://lana.solutions/documentation/lana-passport/
Installation
1. Install WordPress
Download and Install WordPress 4.5 (or higher).
2. Upload Plugin via FTP
Upload "Lana Single Sign On" plugin folder via FTP into /wp-content/plugins directory.
or
2. Upload Plugin in WordPress Admin
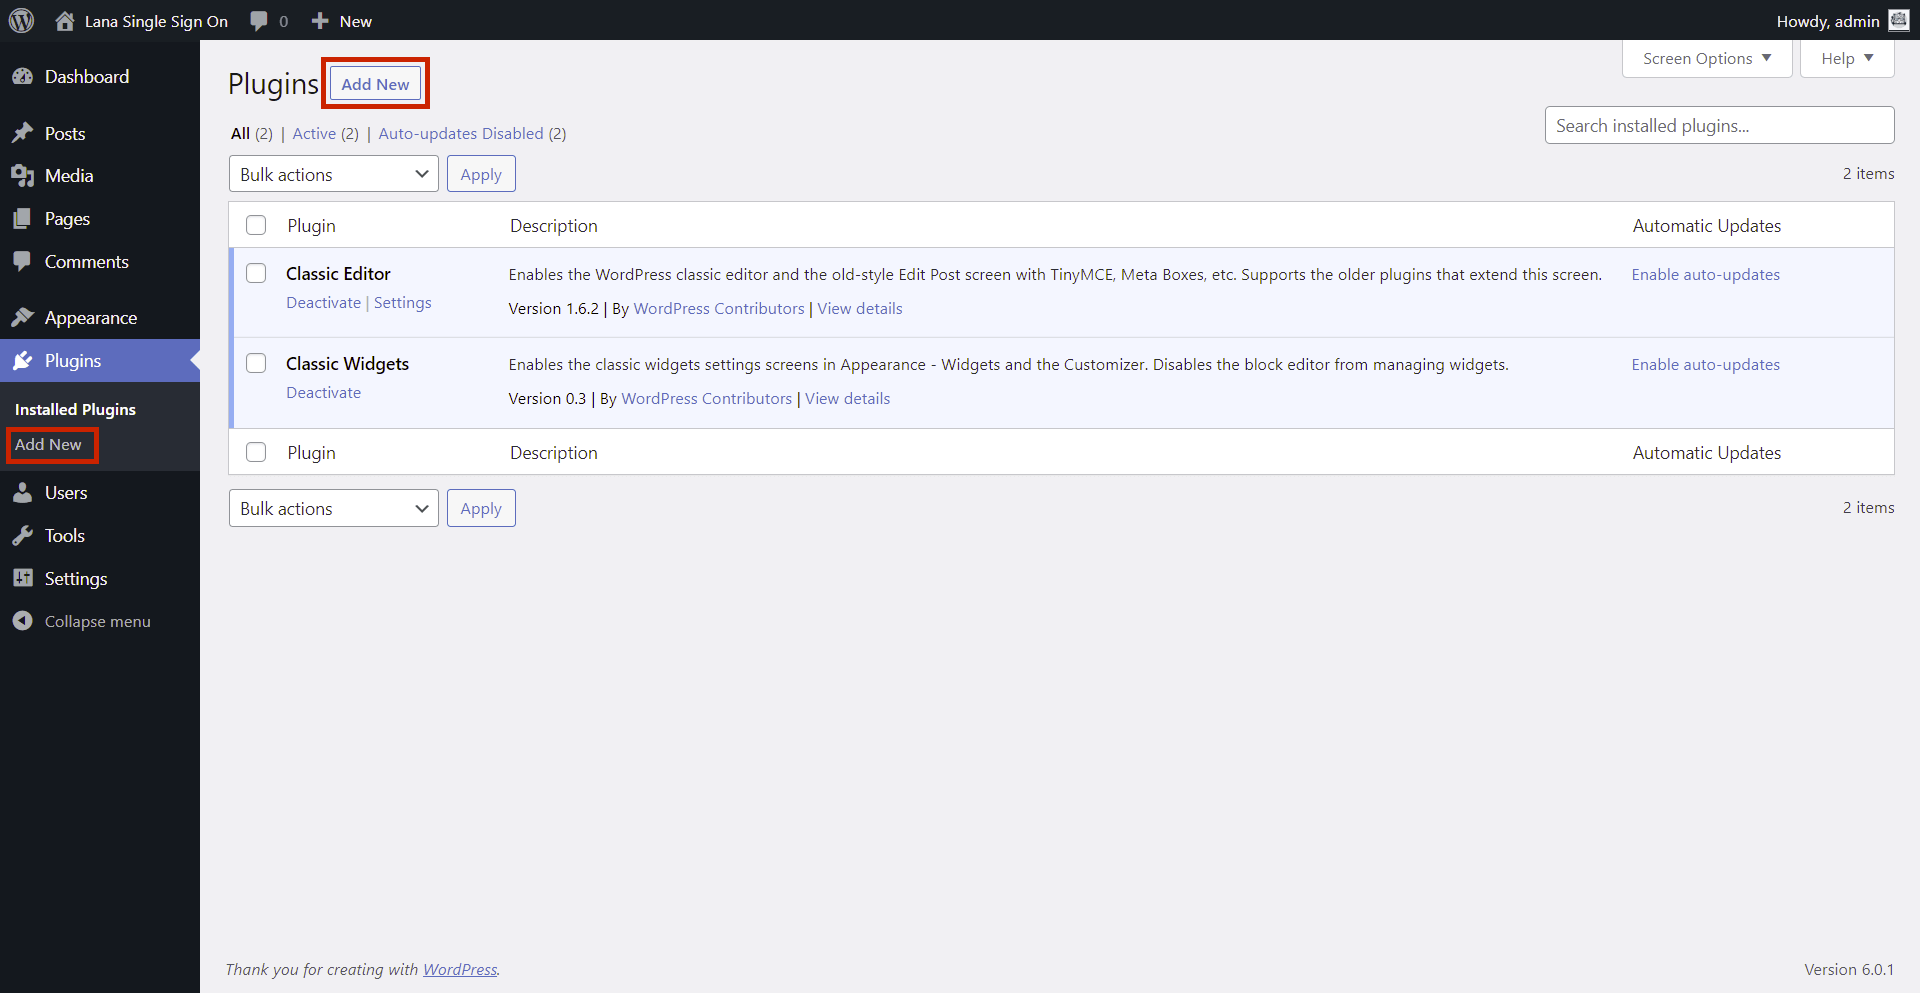
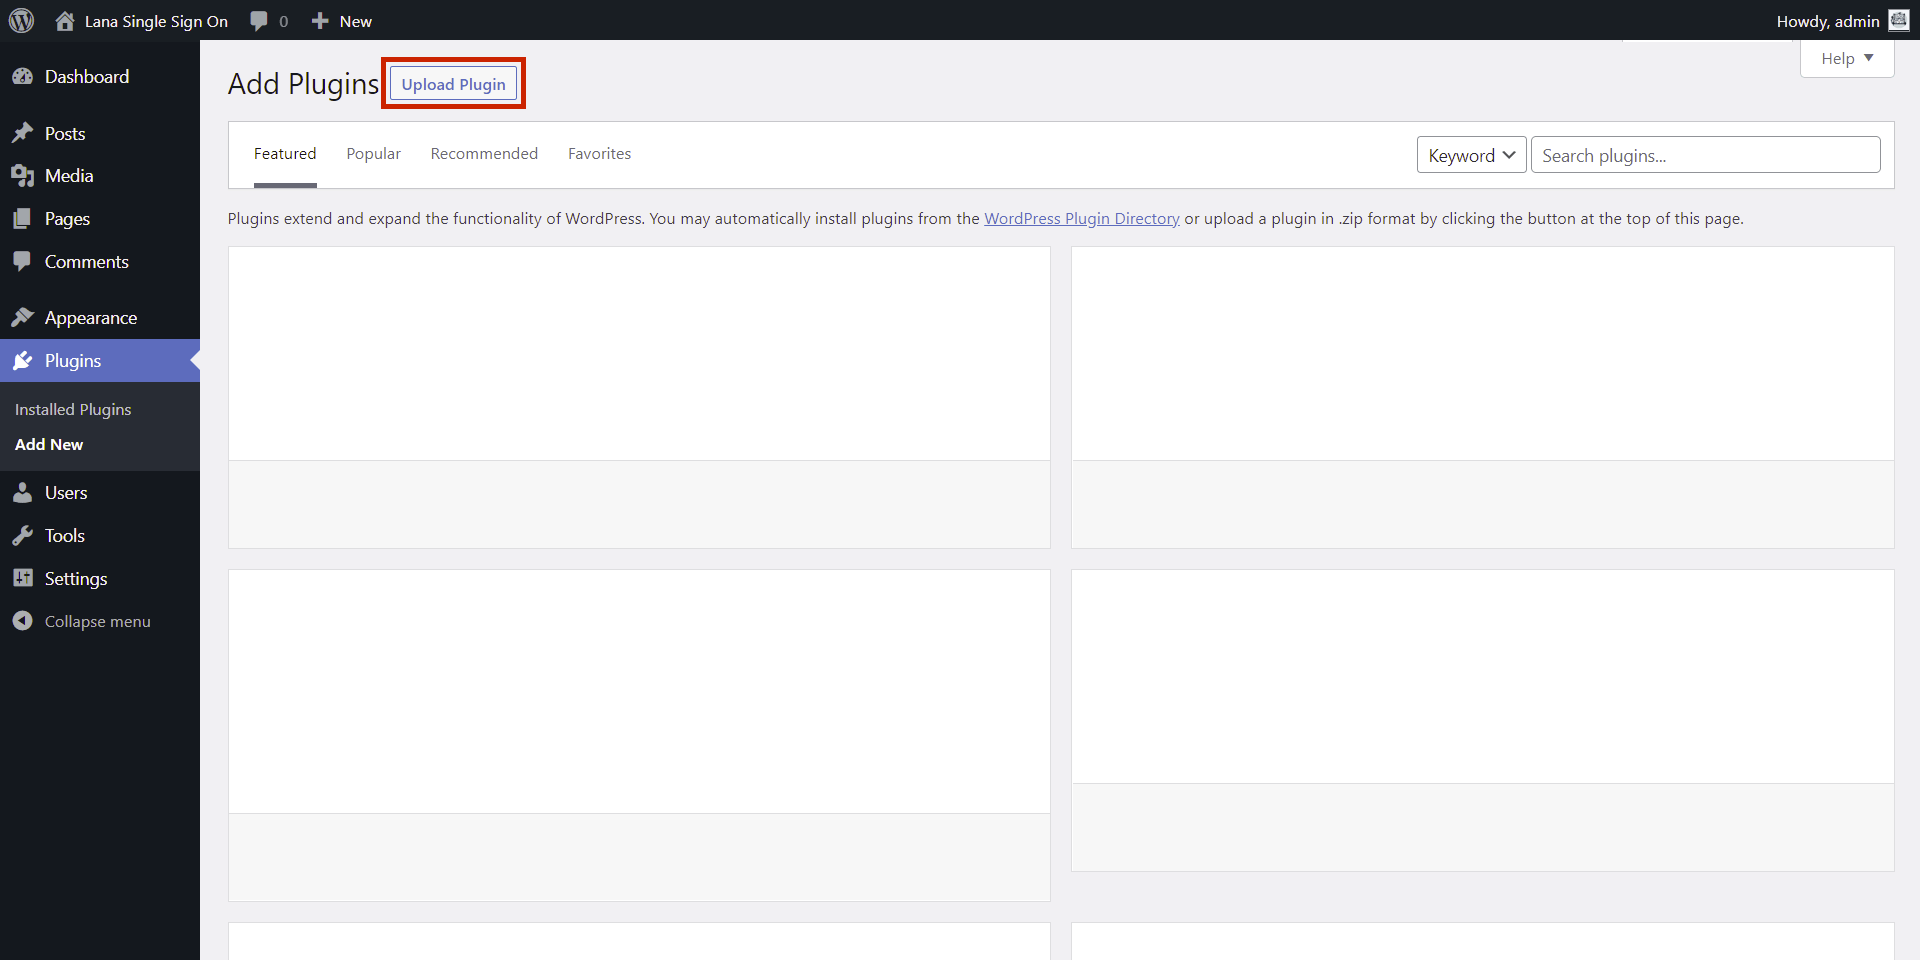
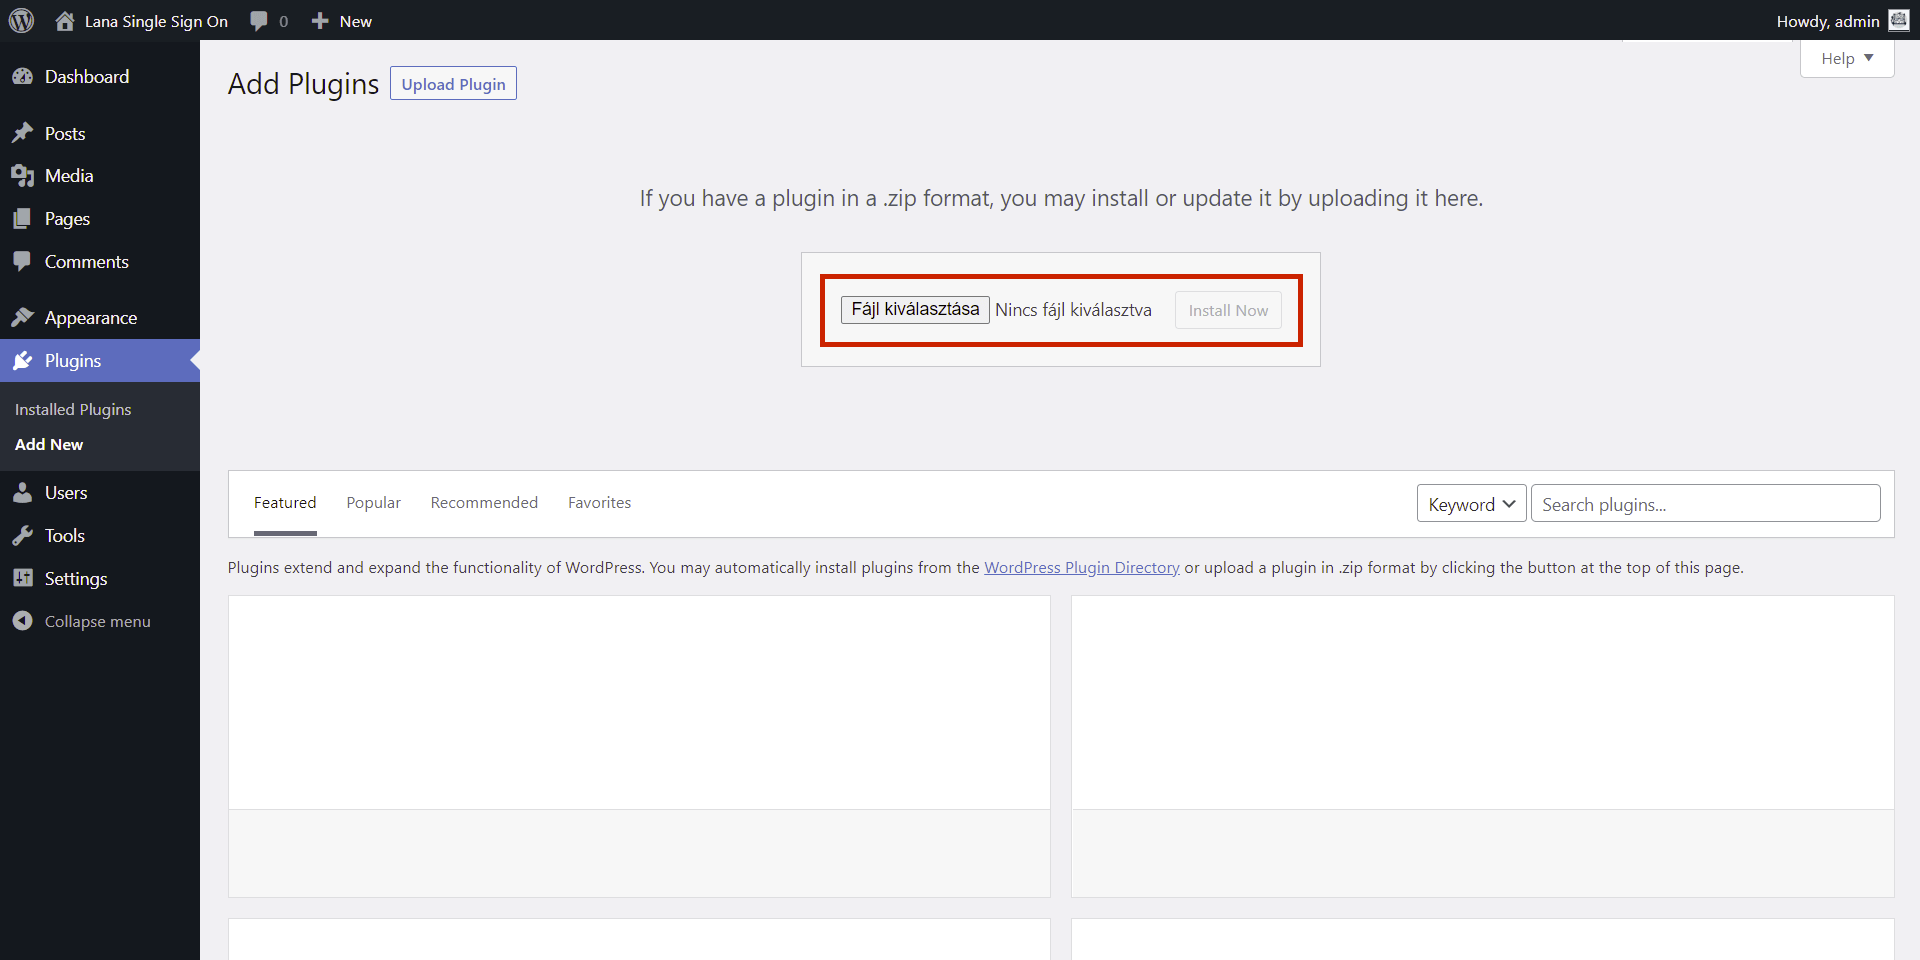
In WordPress Admin Panel go to Plugins > Add New > Upload Plugin and upload .zip plugin file.
3. Active plugin
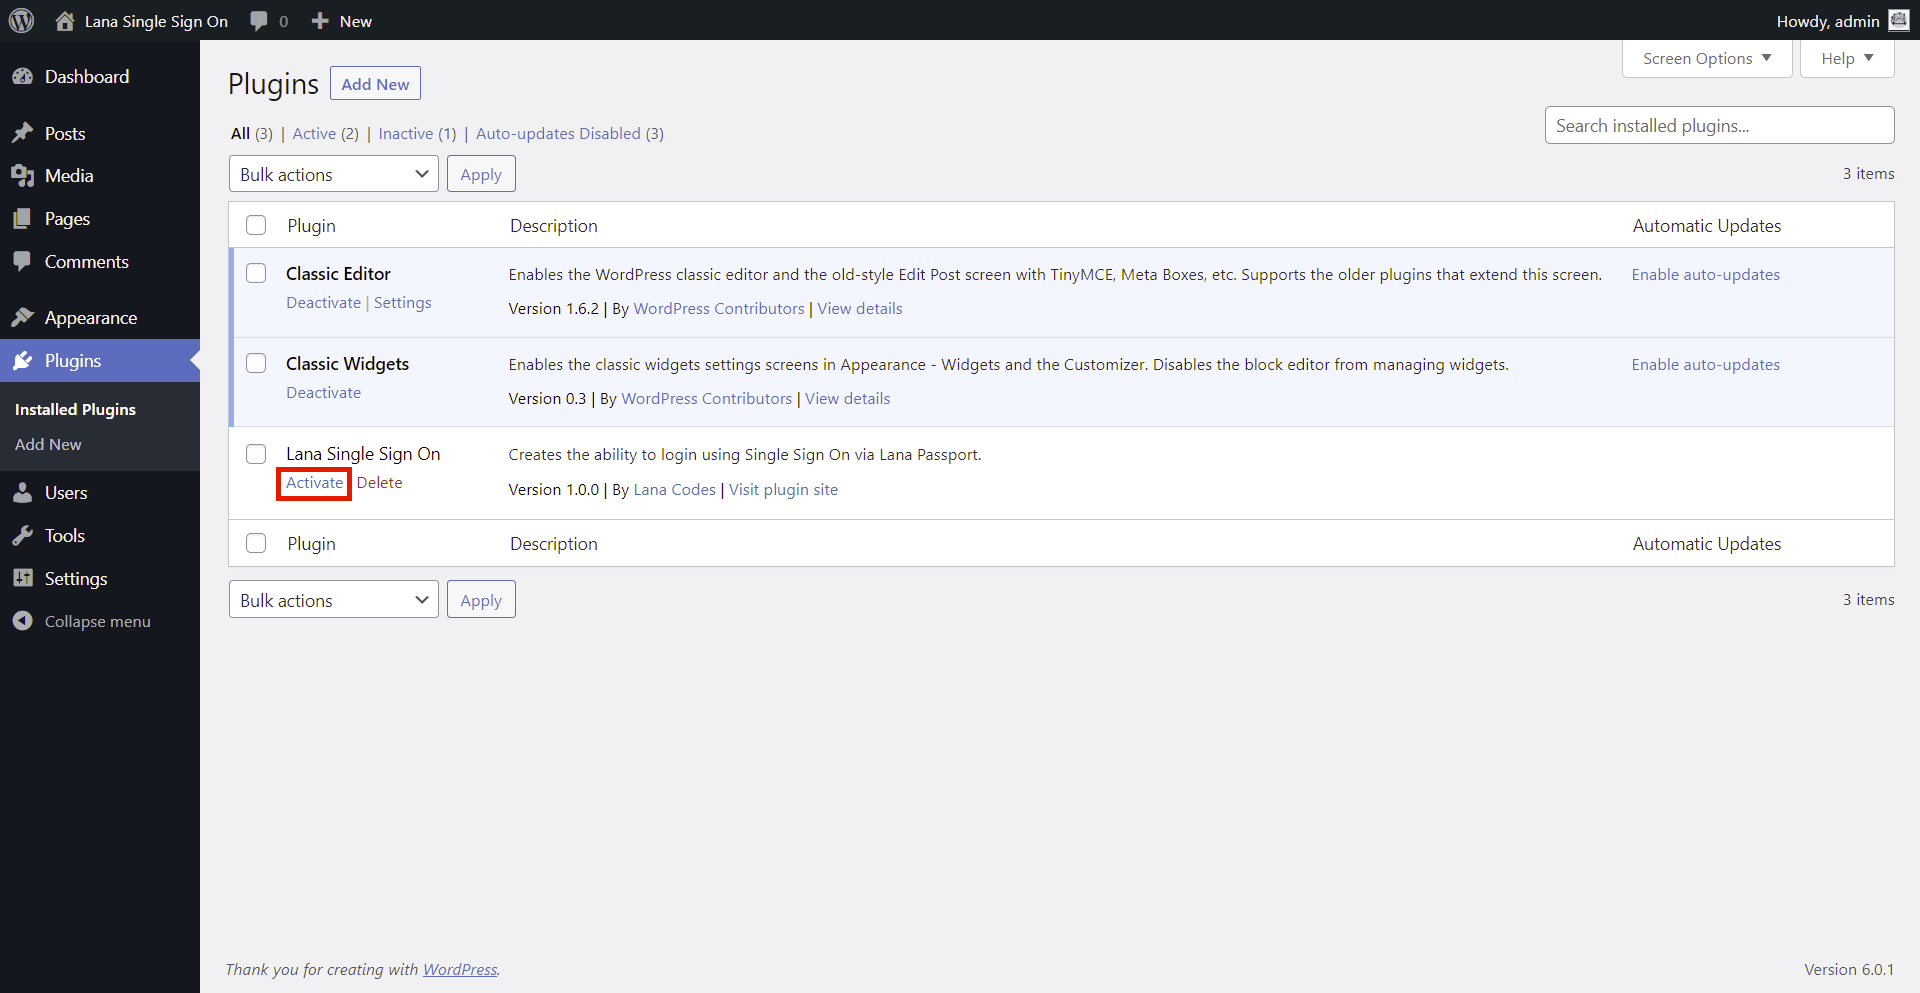
In WordPress Admin Panel go to Plugins > Installed Plugins.
Select "Lana Single Sign On" theme and click Activate button.
Plugin files
"Lana Single Sign On" plugin: /lana-sso.zip
The plugin is also available on WordPress.org: https://wordpress.org/plugins/lana-sso/
Overview
Lana Single Sign On general overview
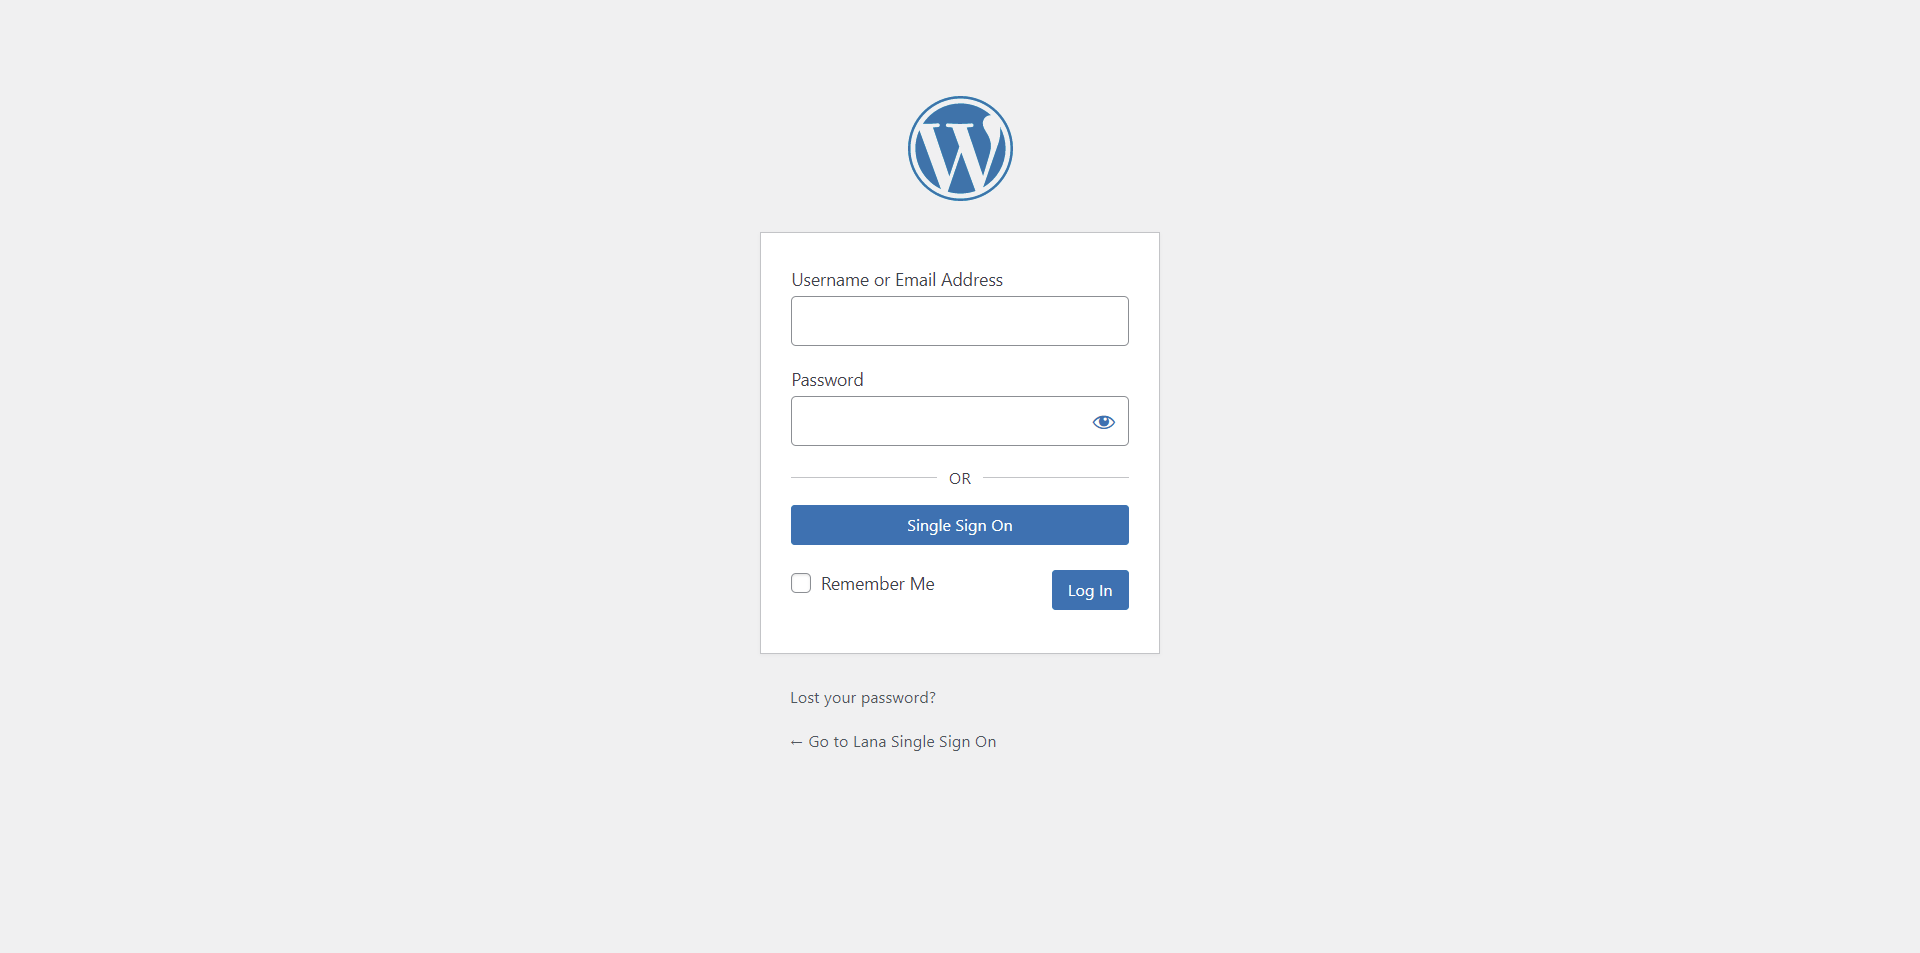
The "Lana Single Sign On" plugin adds a "Single Sign On" button to the WordPress login interface.
By clicking the button, the client WordPress website uses the OAuth 2.0 server for login.
The "Lana Single Sign On" plugin can create a user during Single Sign On login if registration is enabled in the general WordPress settings.
Settings
Lana Single Sign On settings
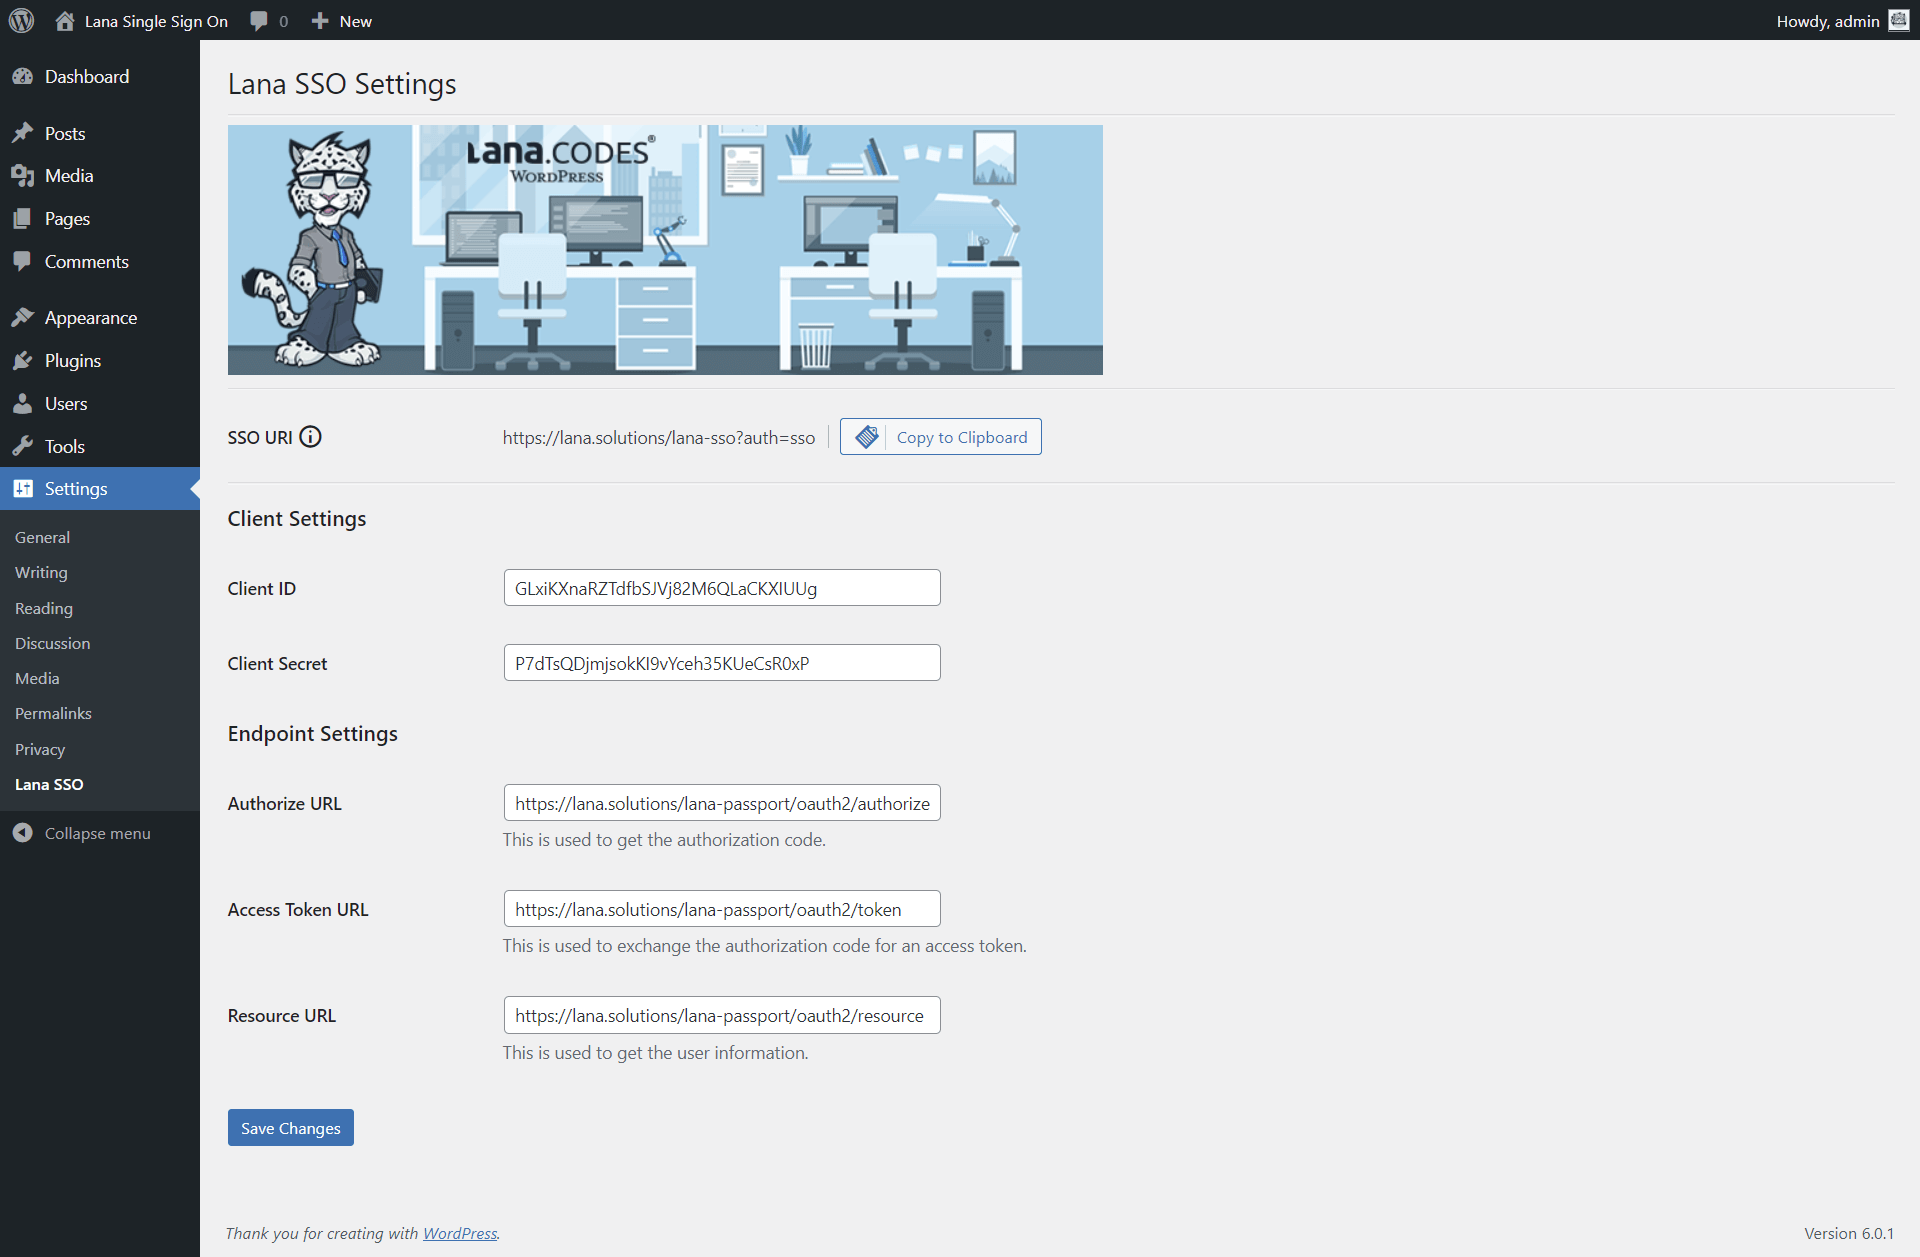
SSO URI
This endpoint handles the OAuth request with authorization code grant type.
You must set this URI in the Redirect URI field of the OAuth server.
Client Settings
- Client ID - The token generated by the OAuth server.
- Client Secret - The token generated by the OAuth server.
Endpoint Settings
- Authorize URL - The Authorize URL of the OAuth server.
- Access Token URL - The Access Token URL of the OAuth server.
- Resource URL - The Resource URL of the OAuth server.
How to configure Server and Client
This is how you can configure an OAuth server using the "Lana Passport" WordPress plugin and an OAuth client using the "Lana Single Sign On" WordPress plugin.
For this you will need two different WordPress websites:
OAuth Server with Lana Passport plugin
In the example in the documentation, the OAuth Server WordPress website URL:
https://lana.solutions/lana-passport/
This website provides the authentication server.
OAuth Client with Lana Single Sign On plugin
In the example in the documentation, the OAuth Client WordPress website URL:
https://lana.solutions/lana-sso/
This website will connect to the other website using OAuth and use Single Sign On.
Note: At the bottom right of the screenshots, it is marked from which website.
The settings step by step:
1. Copy the endpoints from the OAuth Server
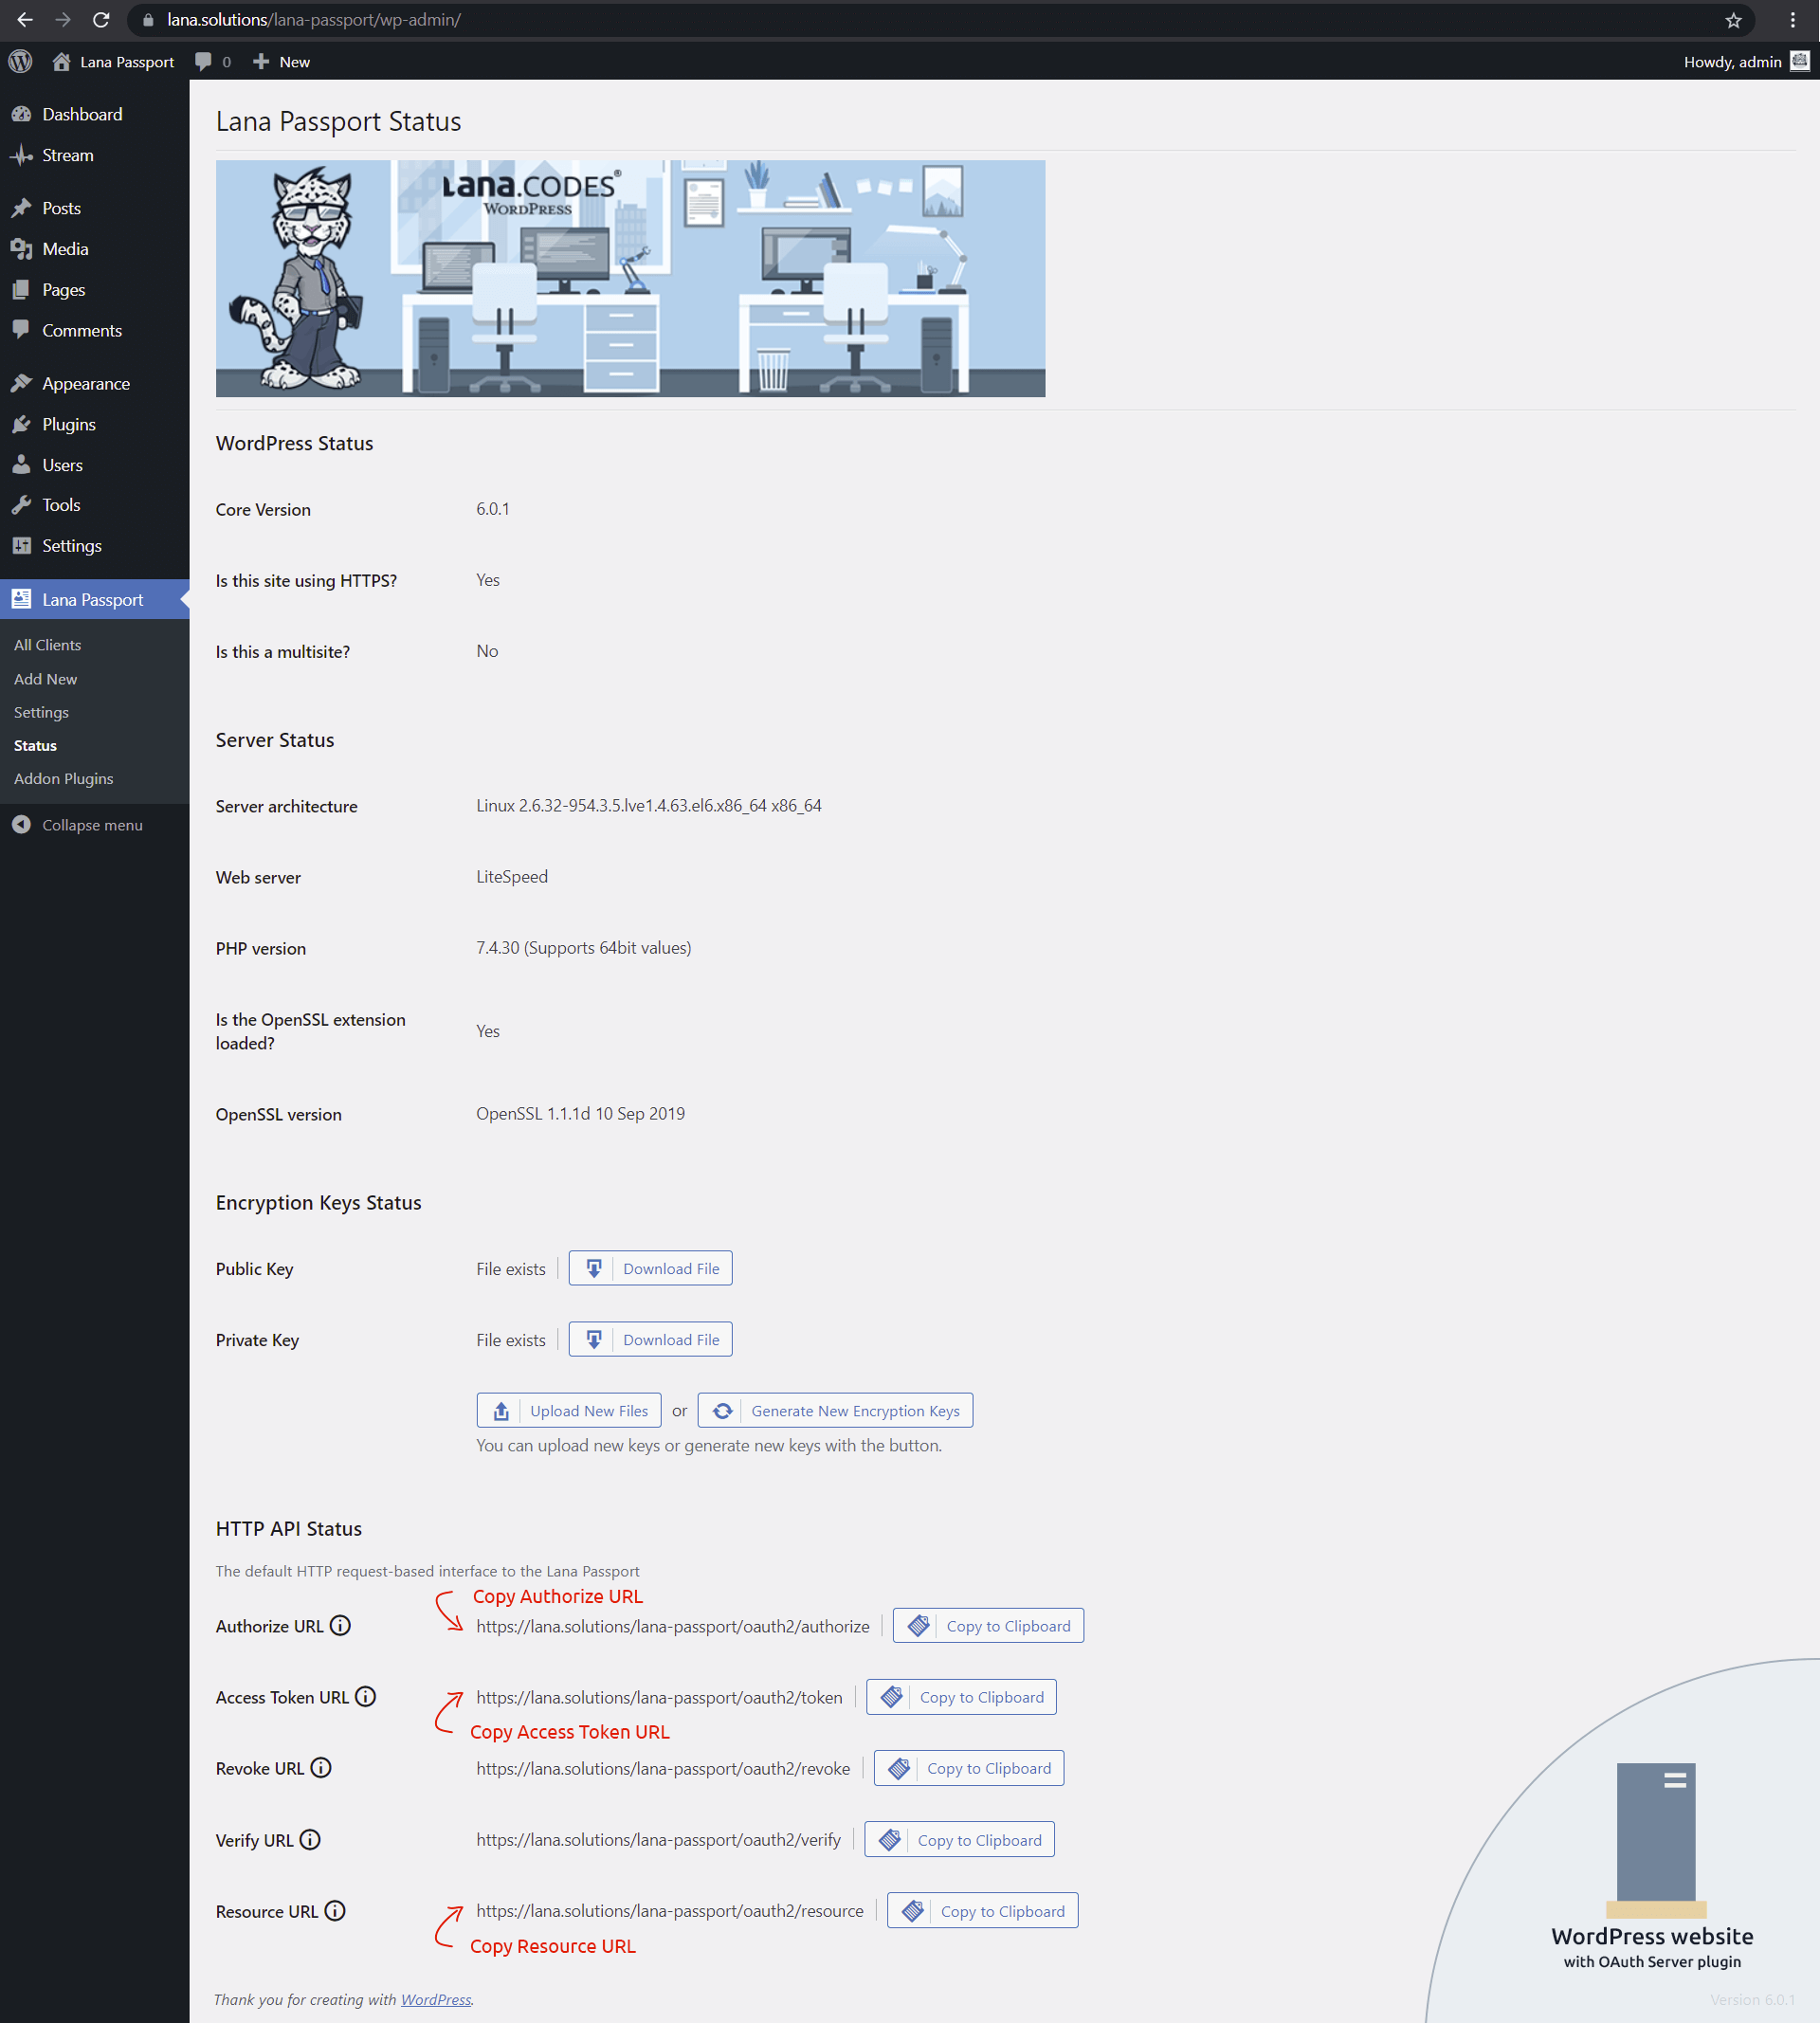
You need to copy three URLs from the "Lana Passport" Status page:
- Authorize URL
- Access Token URL
- Resource URL
These are required in the client settings.
2. Set the endpoints in the OAuth Client
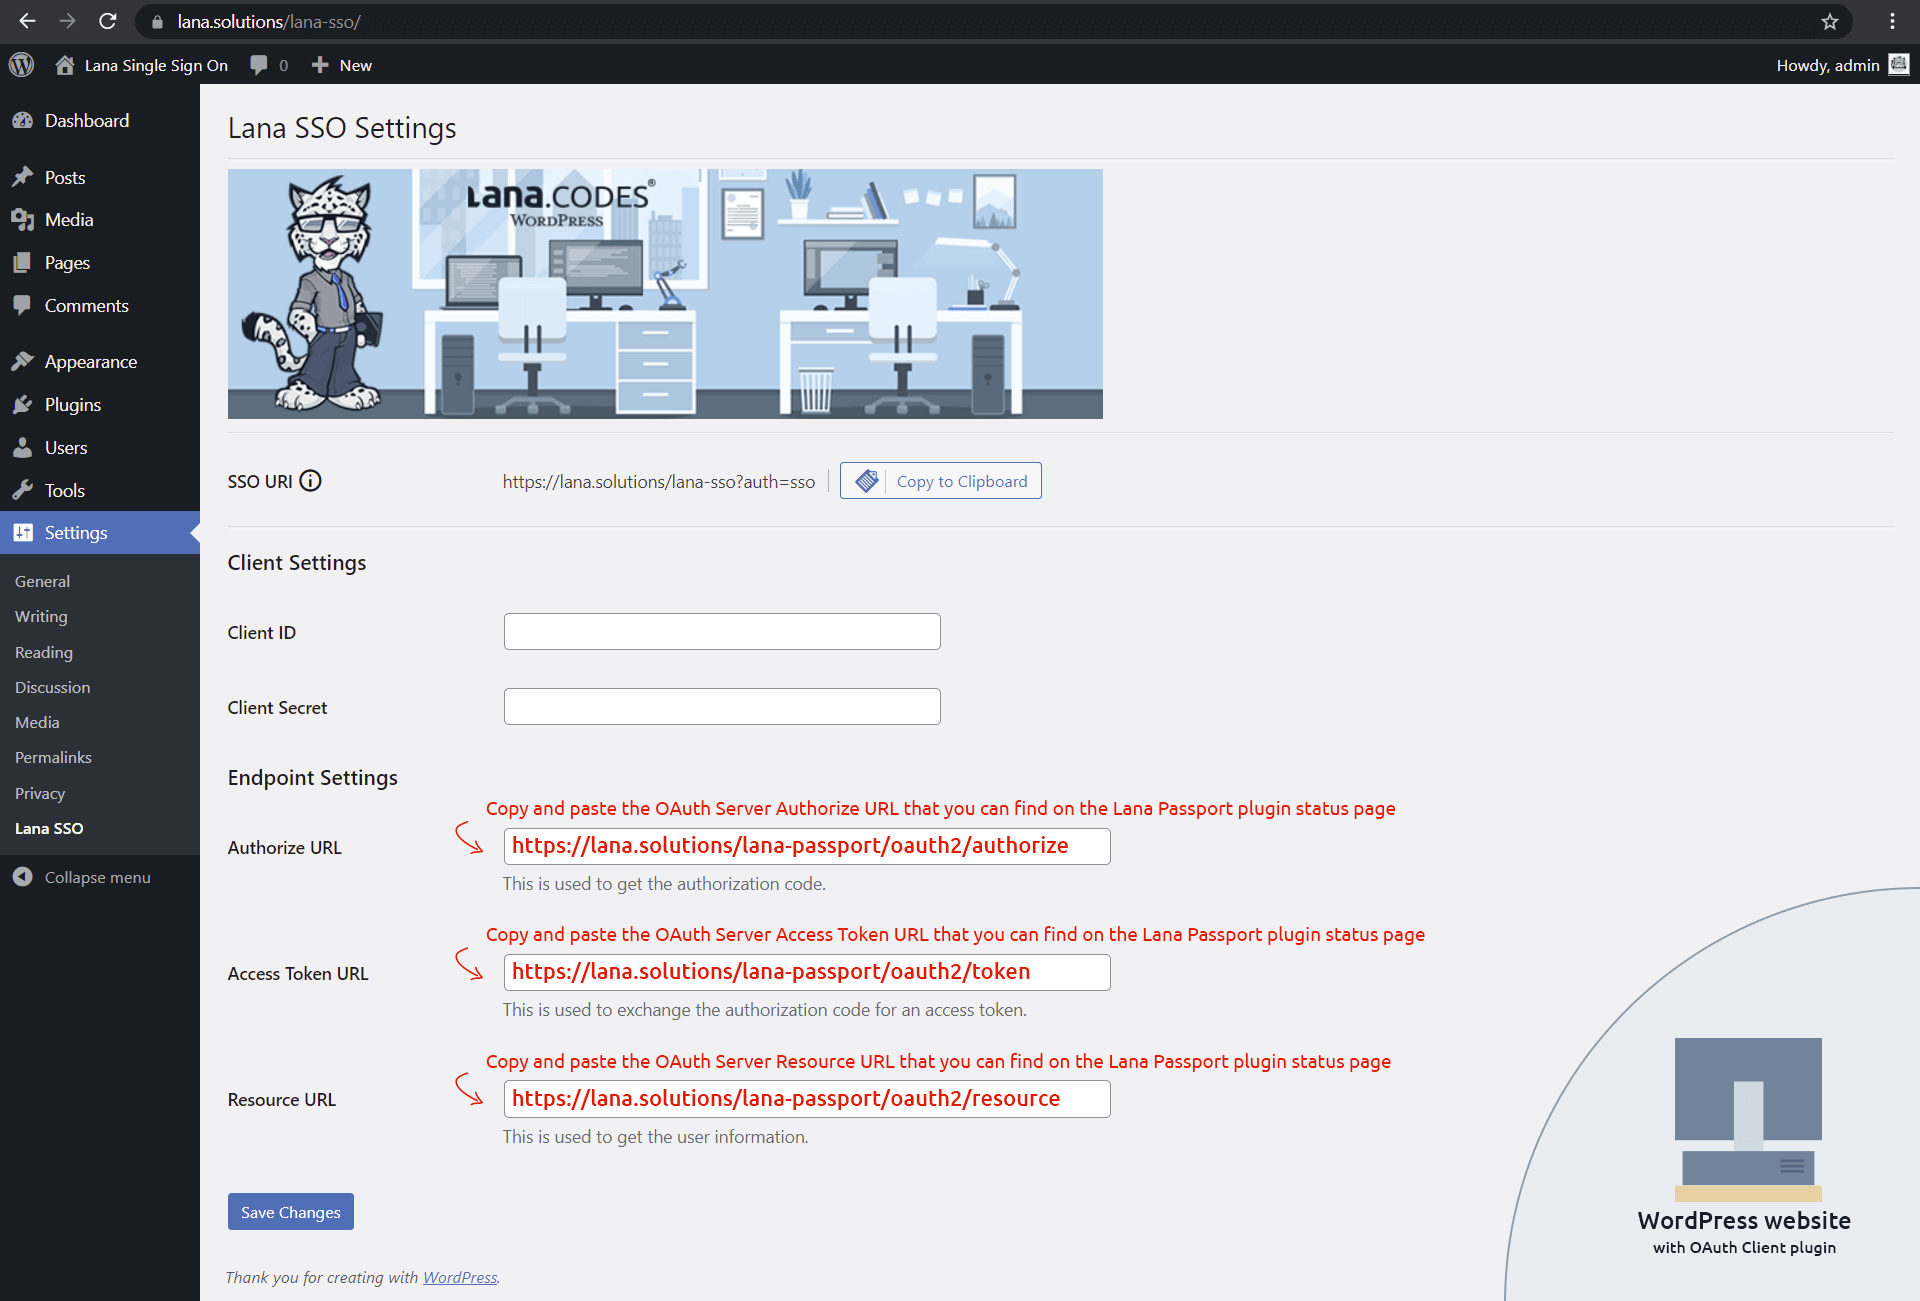
You need to set the three URLs in the "Lana Single Sign On" Settings page:
- Authorize URL
- Access Token URL
- Resource URL
3. Copy the SSO URI from the OAuth Client
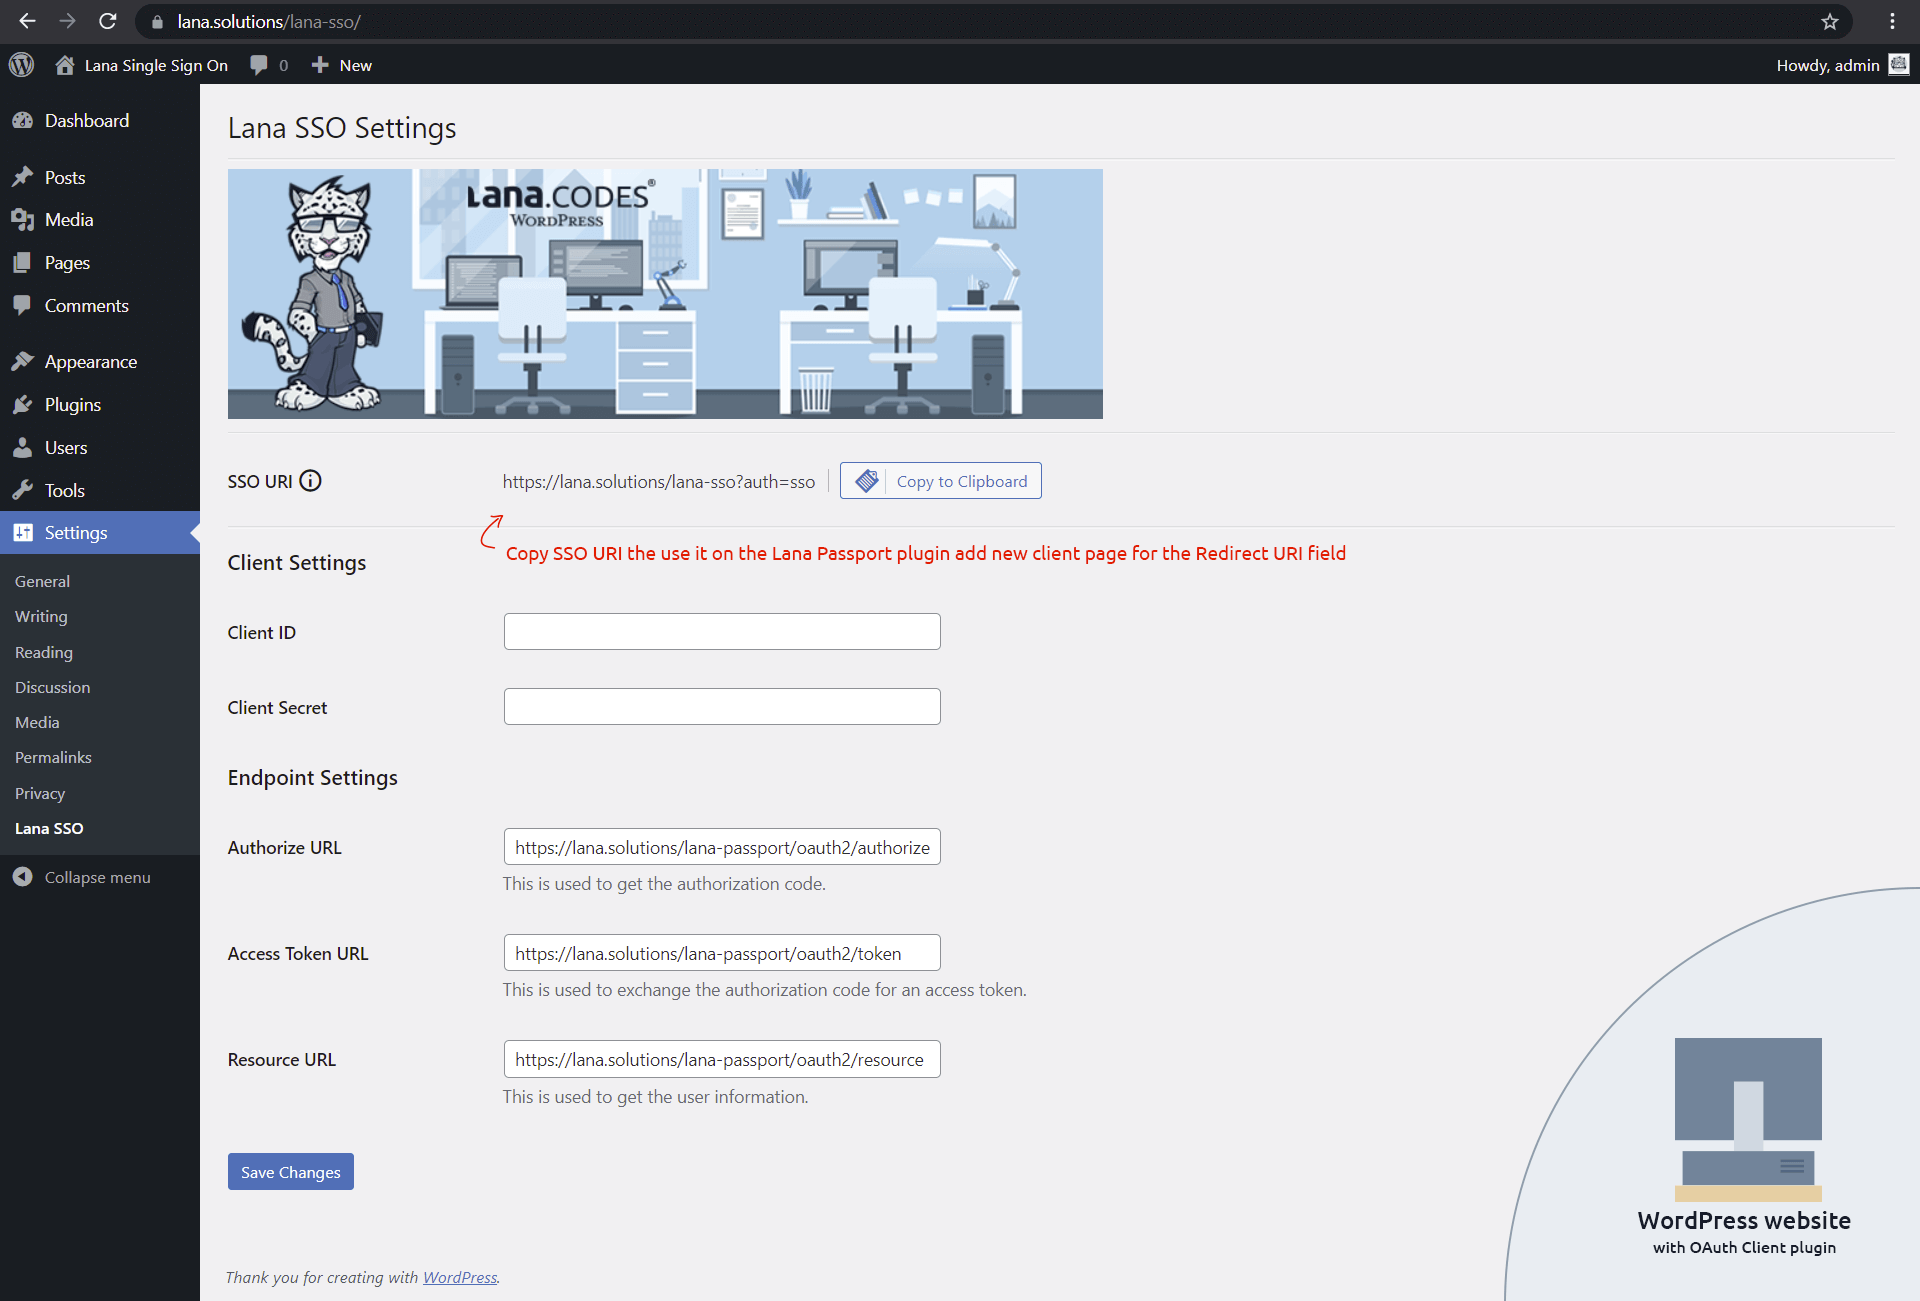
You need to copy the SSO URI from the "Lana Single Sign On" Settings page.
This URI will be used by the server.
4. Set the Redirect URI in the OAuth Server

You need to add a new client to the "Lana Passport".
When adding a client, paste the previously copied SSO URI into the Redirect URI.
Click the "Publish" button and the server will generate the client.
5. Copy the Client ID and Client Secret from the OAuth Server
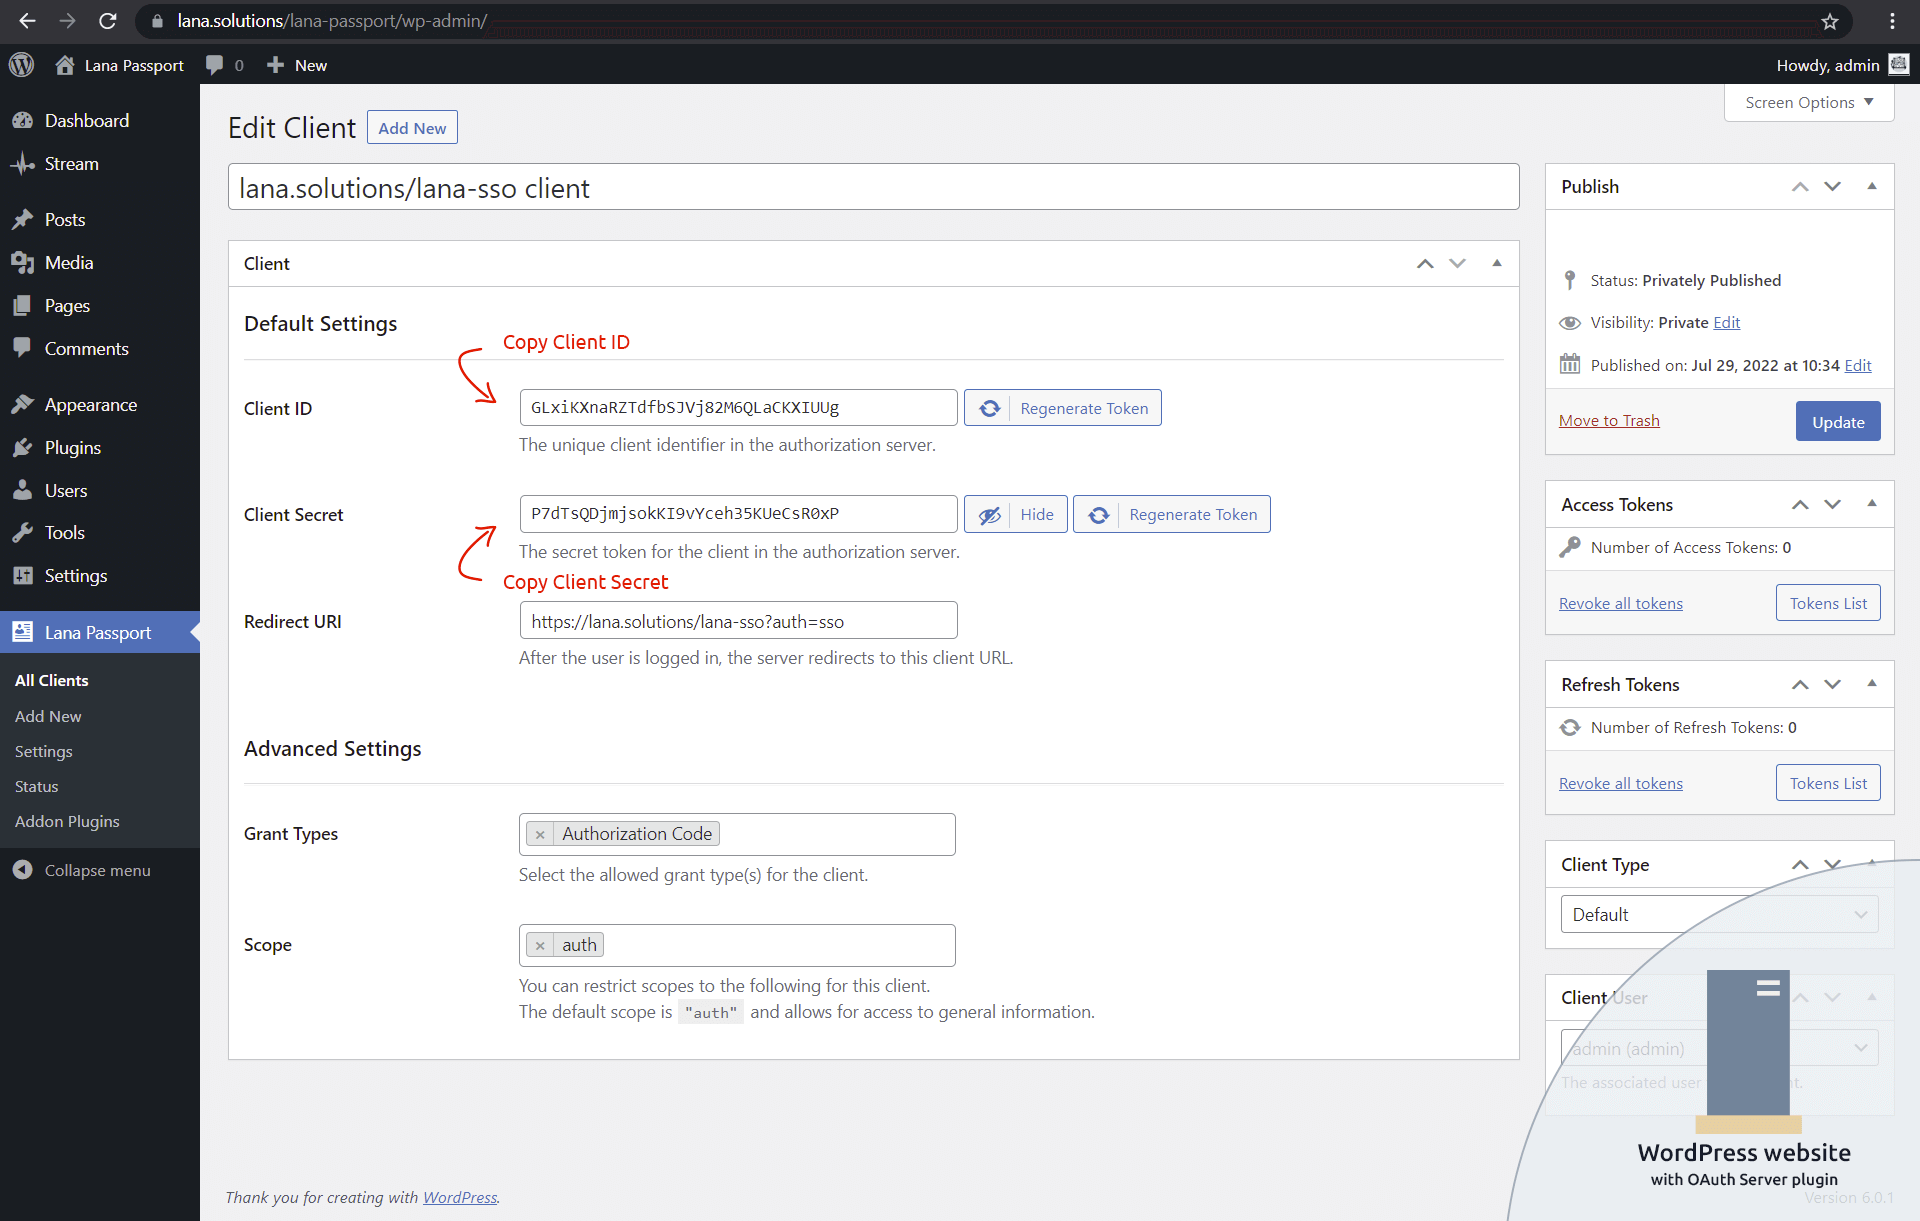
After you have successfully added the client, you can see the client edit, where you can find the generated Client ID and Client Secret tokens.
Copy these tokens because you need to enter them in the OAuth client settings.
6. Set the Client ID and Client Secret in the OAuth Client

Paste the previously copied Client ID and Client Secret tokens on the "Lana Single Sign On" settings page.
Credits
jQuery: https://jquery.com/